
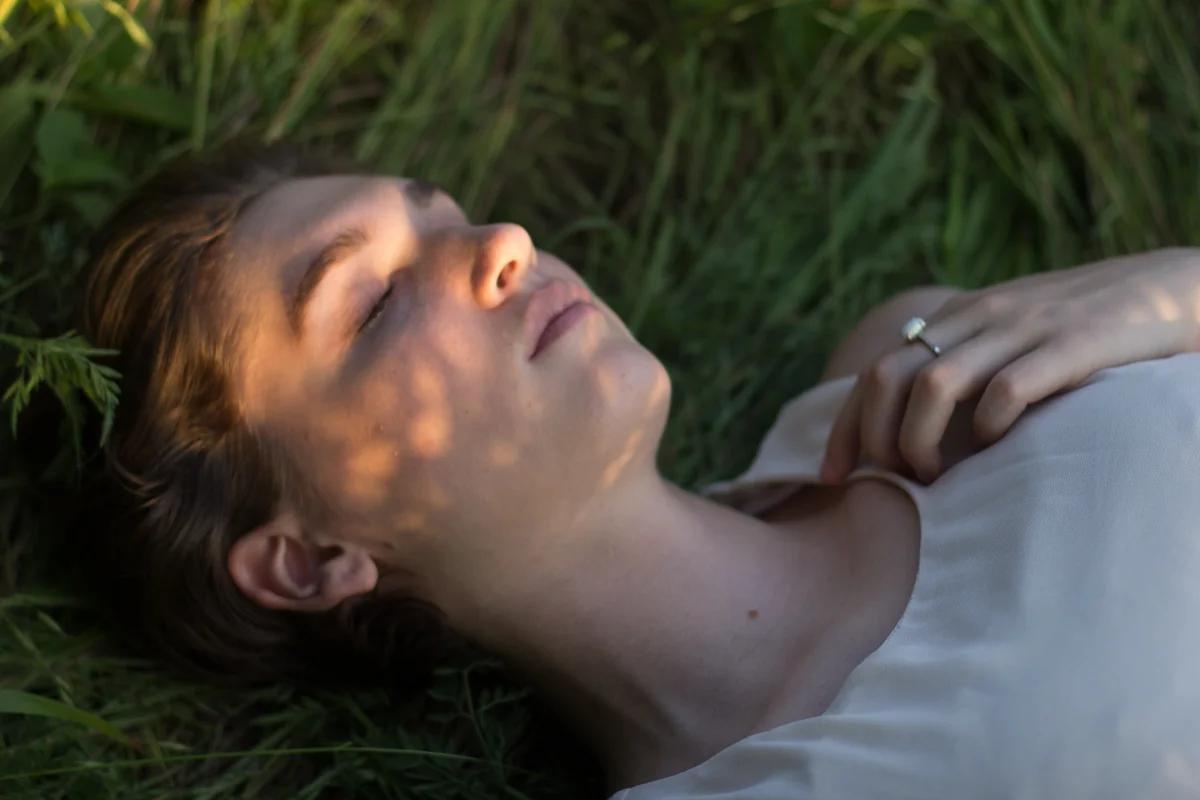
Over the past few months, the most common question I receive about my photography is how I edit my shots and if they can see a before and after. While I'm no expert and I'm still working on my editing style, I without a doubt use the VSCO 01 pack the most often. VSCO 01 gives a more subtle film-look to photos and is one of the more laid-back VSCO packs. Below I have the unedited, straight out of the camera, RAW image on the left (the "before" image) and the preset applied to the image on the right (the "after" image), with each film in the pack (just the base film, not the + and - versions) shown. Normally when I edit, I adjust the brightness if needed and typically pull down the highlights and/or shadows, adjust temperature and colors as needed, and adjust minor details (such as blemishes) as well as use VSCO, which brings me to my final image. I tend to pull down the grain as well since VSCO Films typically have a high grain as you will see below (especially the black and white films). VSCO is a great starting tool, but 98% of the time you will still need to adjust a little something to make your images exactly the way you would like them to be. The images below are just to show the difference between no VSCO and using the 01 presets.
Fuji 160

Fuji 400


Fuji 800Z

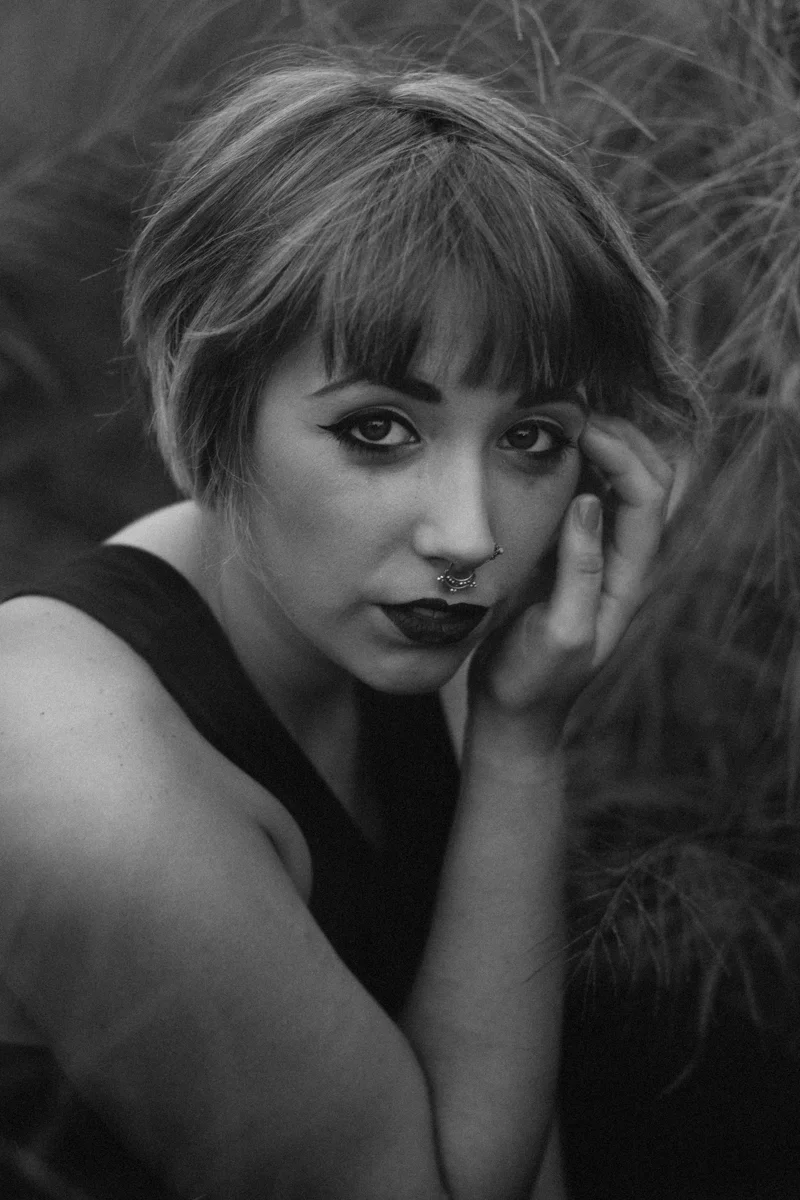
Ilford HP5

Kodak Portra 160


Kodak Portra 400


Kodak Portra 800


Kodak T-MAX 3200


Kodak TRI-X 400

